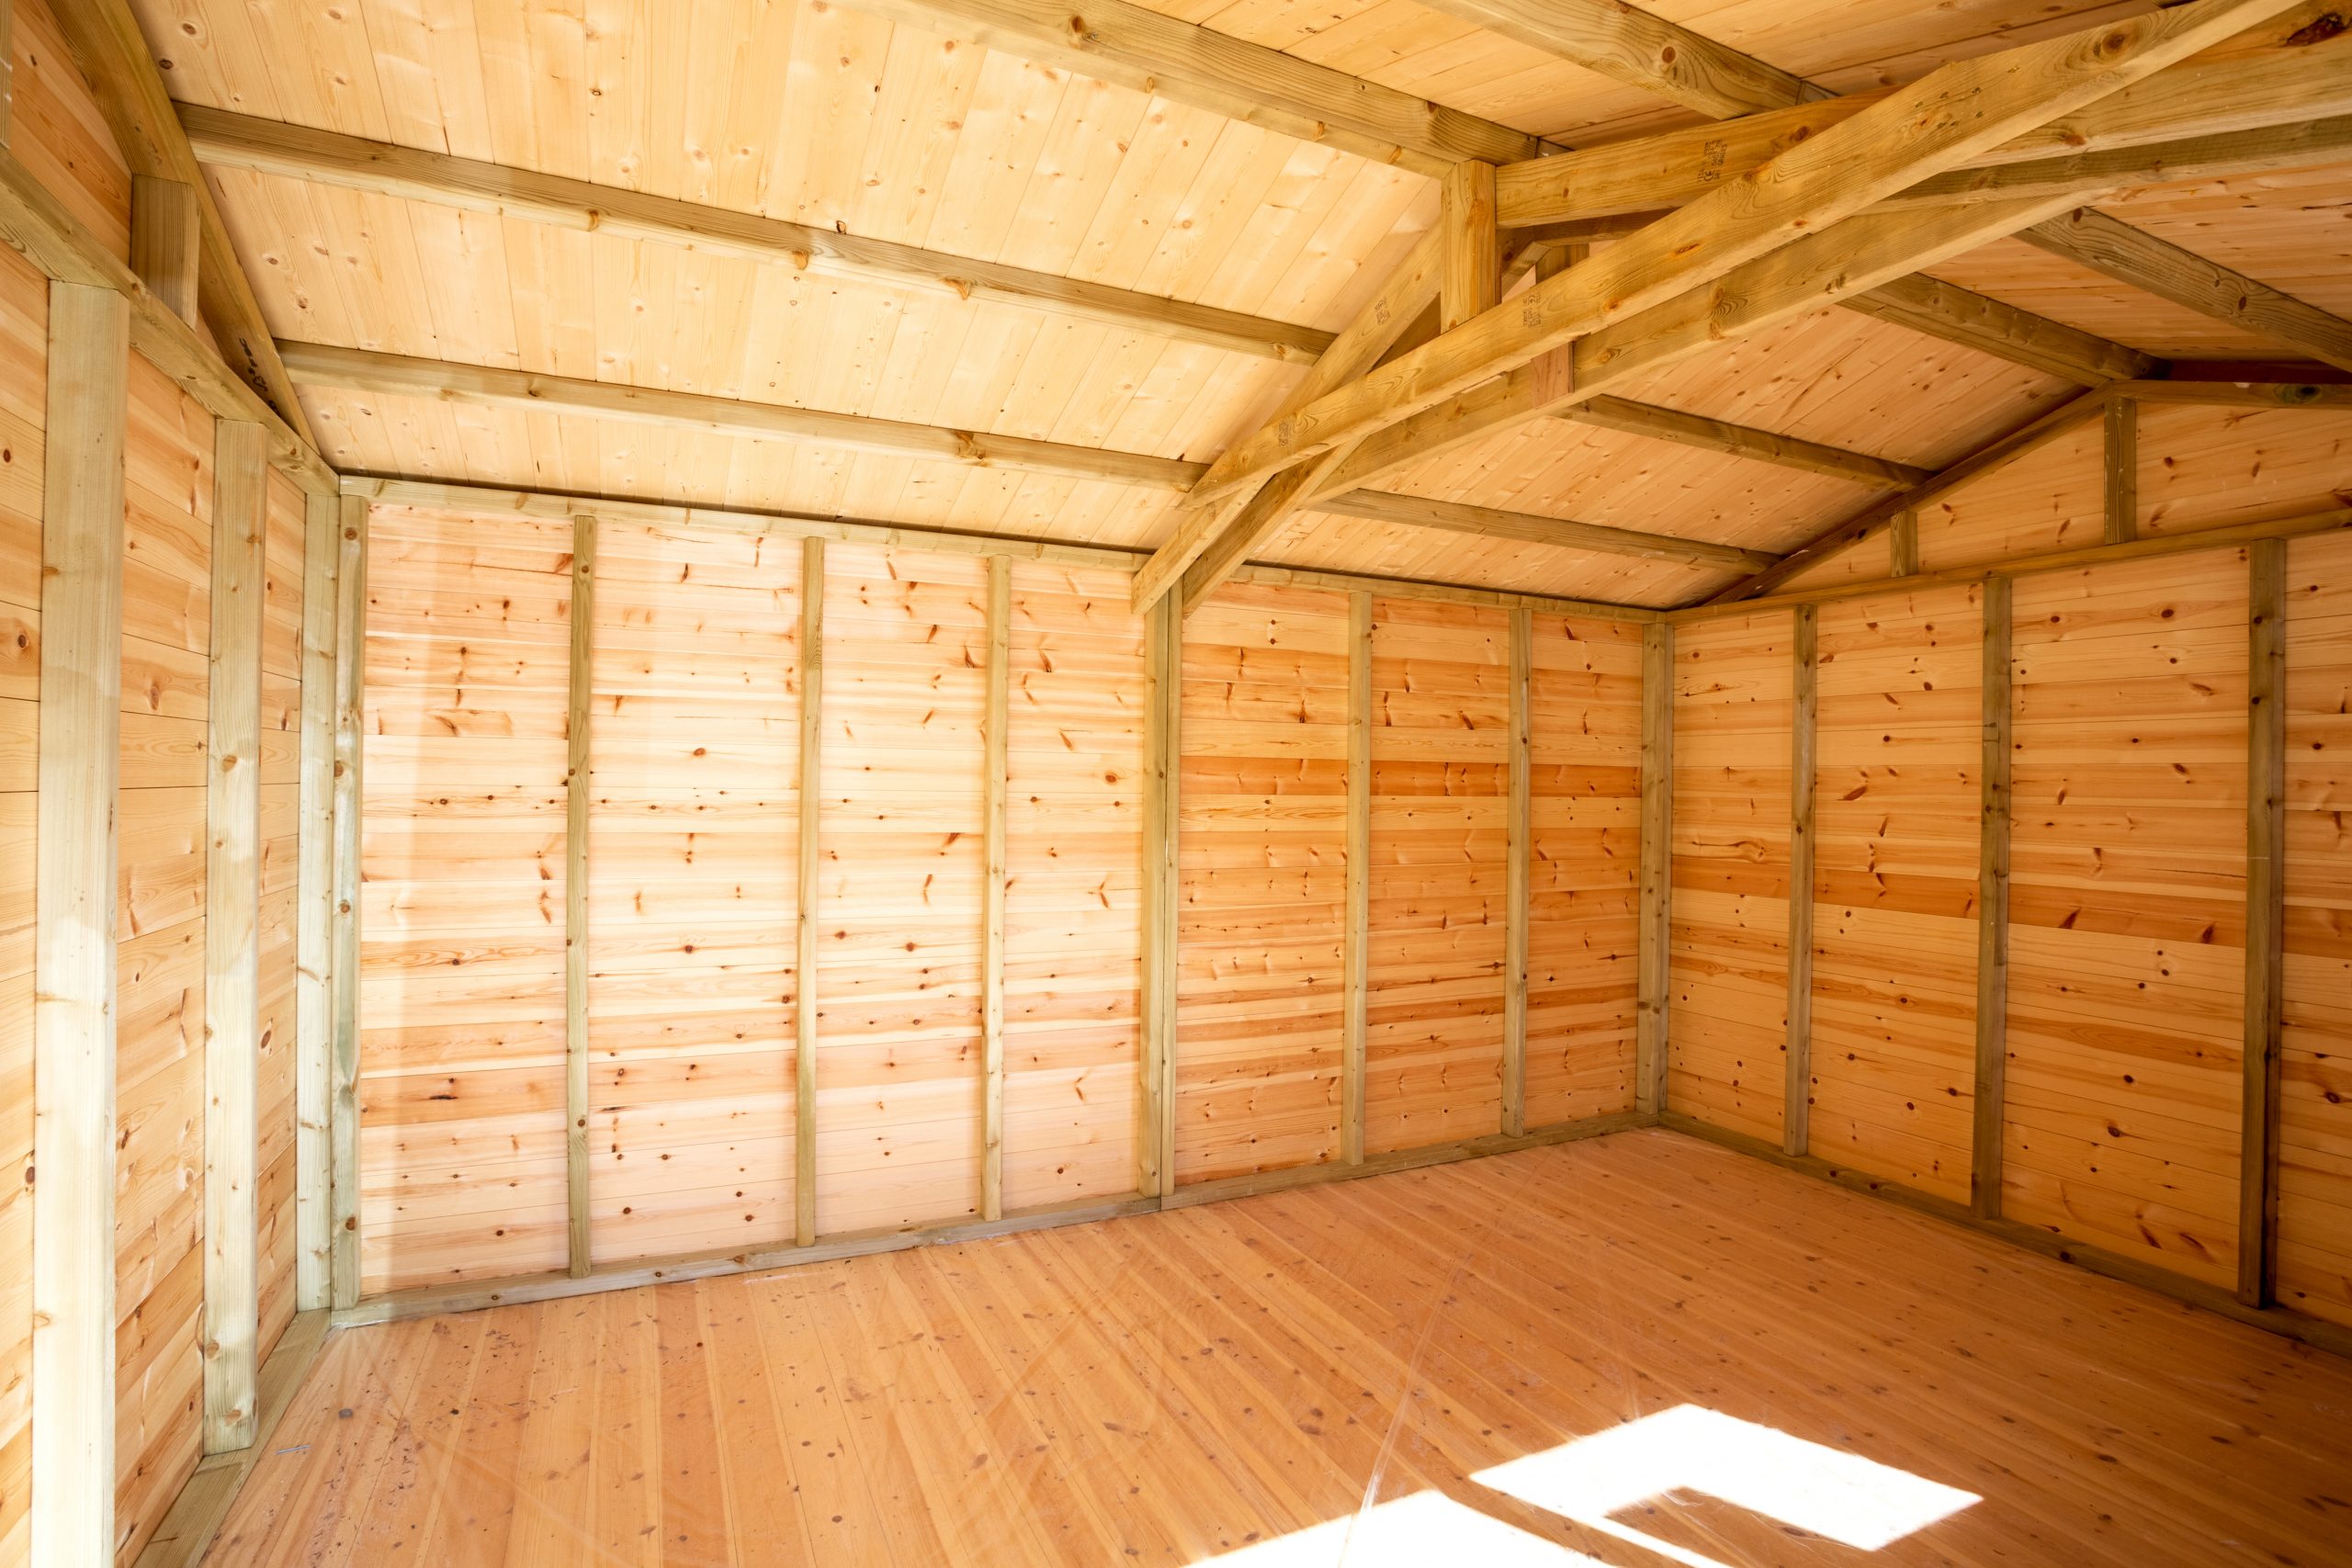
When the cold months roll in, your outdoor shed can still be a haven for DIY projects, hobbies, or extra storage—if it’s adequately insulated. Adding insulation to your shed creates a comfortable, dry space that protects your tools, materials, and yourself from harsh winter weather. Whether you use your shed as a workshop, potting space, or storage, winterizing with insulation extends usability and preserves items stored inside. This step-by-step guide covers everything you need to know to insulate your outdoor shed effectively, from choosing materials and planning installation to sealing and finishing.
Why Insulate Your Outdoor Shed for Winter?
Outdoor sheds often lack sufficient insulation, resulting in freezing temperatures inside that can damage stored items and deter you from working comfortably. Installing insulation helps maintain a stable interior temperature, reduces moisture buildup that can lead to mold or rust, and minimizes drafts.
An insulated shed also makes it easier to heat if you plan to use a space heater or electric blanket during cold spells. Overall, it improves energy efficiency and extends the functional season of your shed.
Step 1: Evaluate Your Shed and Prep the Space
Before starting insulation, inspect your shed for leaks, cracks, or gaps in walls, windows, and doors. Seal these openings with weatherproof caulk or expanding foam to block drafts and moisture, which are common culprits in winter chill.
Measure your shed’s interior walls, ceiling, and floor if you plan to insulate the entire structure. Note obstacles like wiring, vents, or built-in shelving that may affect installation.
Step 2: Choose the Right Insulation Material
The proper insulation depends on your budget, climate, and shed construction. Popular options include:
- Fiberglass Insulation: Inexpensive and widely used, fiberglass batts fit between studs easily. However, it can absorb moisture, so proper vapor barriers and ventilation are crucial.
- Rigid Foam Board Panels: Providing higher R-values and moisture resistance, foam boards are great for thin-wall spaces and add structural stability, but require precise cutting and sealing.
- Spray Foam Insulation: The most effective for air sealing and high R-value per inch, spray foam expands to fill gaps, preventing drafts and condensation. It usually needs professional installation but offers excellent long-term performance.
- Reflective Insulation: Often used in conjunction with other types, reflective barriers reduce radiant heat loss in colder climates and are especially useful in roof insulation.
Step 3: Insulate Walls, Ceiling, and Floor
Walls and Ceiling
Install insulation snugly between wall studs and ceiling rafters, cutting materials to fit closely without compressing them (which reduces efficiency). If you’re using fiberglass or foam boards, consider adding a vapor barrier on the warmer side of the insulation to prevent moisture buildup that can cause mold or rot.
Proper ventilation is crucial, especially in enclosed sheds, to prevent the accumulation of trapped moisture. Installing vents or leaving air gaps ensures that airflow is maintained behind insulation layers.
Floor Insulation
If your shed’s floor is elevated or over open ground, insulating under the floor prevents cold drafts from rising inside. Use rigid foam panels or batt insulation secured between floor joists. For concrete slab floors, consider laying insulating mats or rugs indoors.
Step 4: Choose Interior Finishes
Once insulated, the shed’s interior walls are ready to be covered. Popular finishes include:
- Plywood: Durable for workshop spaces, it allows tool mounting and storage attachment.
- Drywall: Offers a smooth, paintable surface suitable if the shed is well insulated and ventilated.
- Wall Panels: Moisture-resistant PVC or composite panels are easy to install and maintain in humid environments.
Finishing also protects insulation and creates a polished space for work or hobbies.
Step 5: Seal Doors and Windows
Even well-insulated walls won’t help if doors and windows leak air. Install weatherstripping around door frames and window sashes. Consider insulated doors or storm windows for added protection. Draft stoppers and removable curtains help retain heat and block cold drafts.
Step 6: Optional Heating and Electrical Upgrades
If you plan to use your shed throughout winter, think about safe heating sources like infrared heaters or ceramic lamps. Adding electrical outlets and lighting increases usability; however, always hire a licensed electrician for wiring to ensure compliance with safety standards.
Maintaining Your Insulated Shed in Winter
Regularly inspect insulation for damage or moisture accumulation. Keep ventilation clear to prevent condensation. Use moisture absorbers or small dehumidifiers if necessary. Clear snow buildup on roofs promptly to avoid structural stress.
Benefits Beyond Winter
While insulation is essential for cold weather, it also helps regulate temperatures year-round by keeping out summer heat, making your shed comfortable no matter the season. This makes it one of the smartest investments for improving the best storage shed and multipurpose outbuilding solutions.
Insulating your outdoor shed transforms it into a year-round workspace and storage area. By assessing your shed, selecting suitable insulation materials, sealing drafts, and finishing interior surfaces, you create a comfortable environment that extends your projects into colder months. Plus, well-insulated sheds protect valuable equipment and supplies from temperature swings and moisture damage.
With simple planning and effort, your insulated shed will become a cozy retreat and one of the most practical additions to your backyard, no matter the season.


